 Ratatype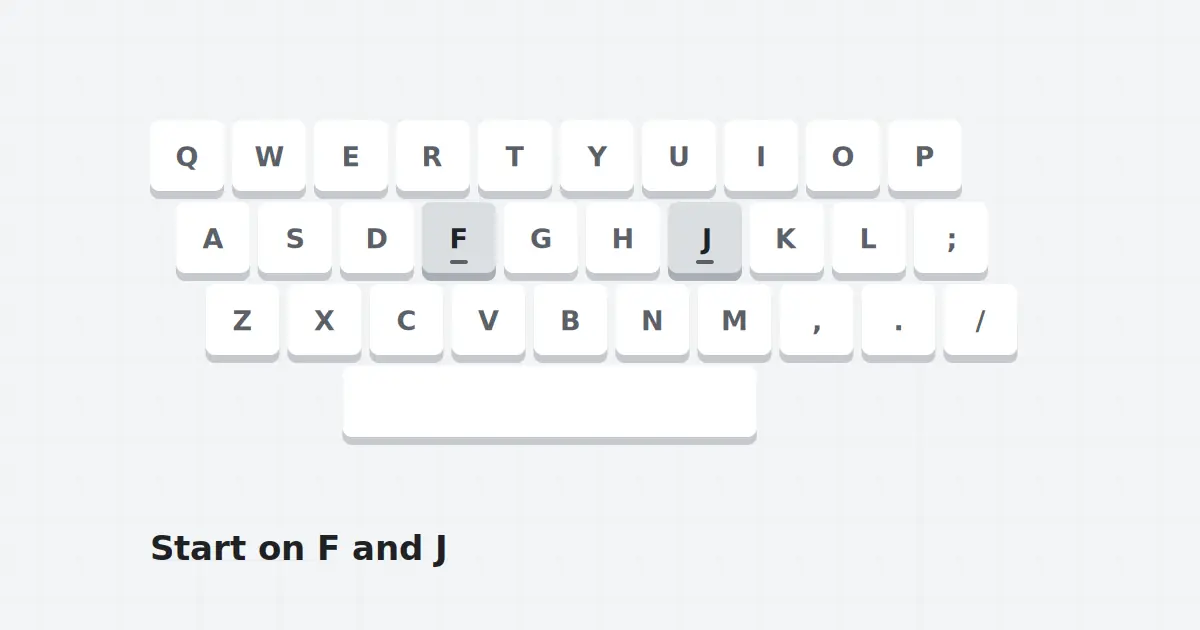
Most people who try to learn touch typing give up in the first week. Not because it is hard, but because their old two-finger method is faster at the start, and going slower feels like failure. Ratatype is built to get you past that dip. This guide shows you how to start well so the new habit has a chance to win.
Take the first test, then forget the number
Ratatype lets you begin without a long setup, and a short typing test is a sensible first step. Write your result down and then put it away. That number is your old habit talking. It is useful later as a comparison, but chasing it in week one will push you back to looking at your hands.
Set up before you type
Sit with your feet flat, shoulders loose, and the keyboard close enough that your elbows rest at roughly a right angle. Find the small bumps on the F and J keys with your index fingers. Let the other fingers fall naturally on A, S, D and K, L and the semicolon. Your thumbs hover over the space bar. This is the home row, and every lesson returns to it.
Do the lessons in order
The Ratatype course introduces keys a few at a time. It is tempting to skip ahead, but each lesson builds the finger paths the next one depends on. Stay on a lesson until you can finish its exercises with few mistakes. Speed comes later; for now, the goal is that every finger knows its own keys.
Short sessions beat long ones
Fifteen to twenty minutes a day is enough. Muscle memory forms during rest as much as during practice, so a daily short session will beat a single two-hour marathon on Sunday. If you can, split it into two blocks: one in the morning and one in the evening.
Stop looking at the keyboard
This is the hardest rule and the most important one. If you glance down, your brain keeps relying on sight instead of finger position. Some learners put a cloth over their hands for the first few days. Others simply accept more mistakes and keep their eyes on the screen. Either way works, as long as you do not look.
What to expect in week one
- Days 1 to 2: very slow, many errors, frustration. Normal.
- Days 3 to 4: the home row starts to feel automatic.
- Days 5 to 7: reaching for the top and bottom rows gets less awkward.
Once the first week is behind you, move on to our guide on finger placement and then start working on accuracy. Speed will follow on its own.
Keep reading
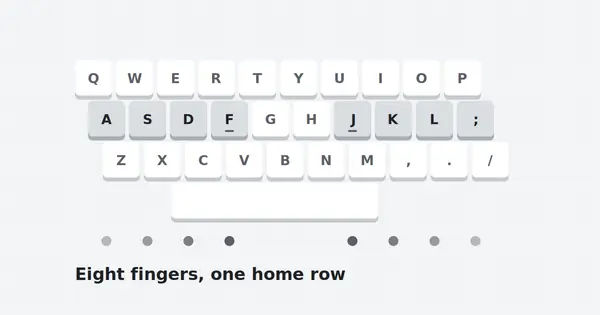
Correct finger placement on the home row
Every fast typist relies on the same eight resting points. Learn them once and every lesson gets easier.
Read full guide
How to take the Ratatype typing test
A typing test is a snapshot, not a verdict. Here is how to get a result that shows your true level.
Read full guide
Earning a Ratatype typing certificate
A certificate turns your practice into proof. Here is how to prepare for it and where it is useful.
Read full guide